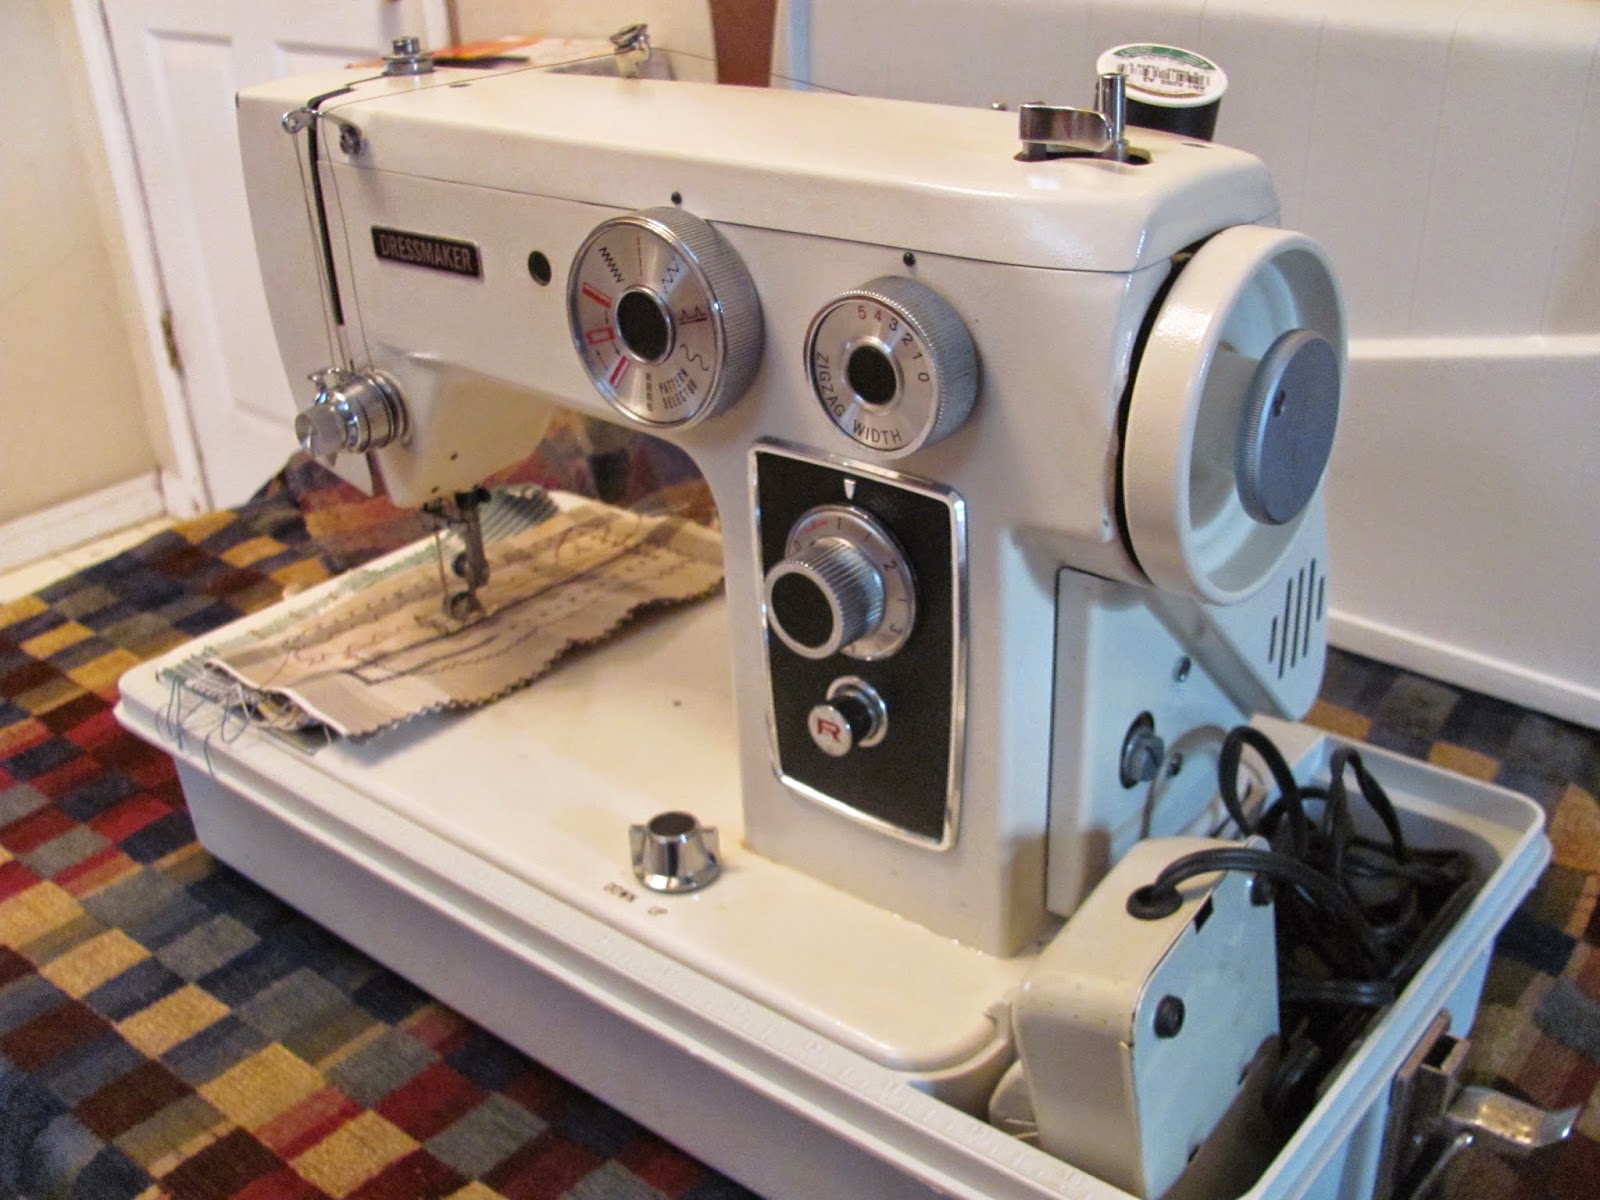
Here is yesterday's project:
Dressmaker SL 2010
This is what it looked like when I got it out of the case. It was given to me, (Thank you, James) Because it was returned for not working correctly.
When buying a sewing machine that is older or one that has been used by someone else, there are a few things you should know. One is that sewing machines will not work if the bobbin case is broken. It also will not work if the bobbins are full of rust. Another thing to know is if you are buying a good old metal sewing machine that people swear by, that you will need to do some maintenance on it to get it to work . The bobbin case in this photo had been taken apart and the tension screw was not there. The bobbin will not work without this. replacements run about 13.00 and can be easily purchased either through your friendly neighborhood sewing machine shop, or from ebay.
Here are more images of the machine as I found it. It is not in bad shape, I just needed to clean it before I could see if there was anything else wrong with it.
The writing on the machine may have been beneficial to the previous owner, but it was unattractive. I was able to get most of the marker off the machine, but if you still look close, you can see some traces of it .
All nessessary parts seemed to be there, so I was of to clean her up.
The need to clean the case was pretty obvious. I did this with a scrub brush. It actually came out really nice.
Here is the cleaned case bed.
After I replaced the bobbin holder, I cleaned the entire machine using what most frown on... Ammonia. It works best for me. I take the machine outside with an old toothbrush and clean and scrub the machine down. I take all the plates off and get all the dirt and grime off the machine. This will not work with plastic machines or machines with decals. I use a half & Half approach with the concoction and I have found it yields great results. After cleaning everything, I took the top off and replaced the bobbin winder tire. Almost always you will need a fresh winder tire. I buy them in bulk because I work on so many machines. This one was a little of a challange because the wheel is attached to the machine under the wheel. I took the back wheel off, being careful not to lose any screws, and I loosened the screw of the winder and was able to replace it easily enough. I checked the tension of the belt, and it is a little loose. I did my best, but It will need to be replaced eventually to get the best results with this machine.
Next I took my Singer Oil, as I was told 3n1 is not always the best choice for machine oil, so I went back to the singer oil. I oiled everything that moved, except the back wheel.
I then put the machine to the test. Plugging it in, it moved sluggish at first, then when the oil got in there , the machine purred like a kitten. I put a fresh needle in, and replaced the light and threaded the machine . It was not at all difficult. The machine is made for simplicity.
At first it did not want to sew. I had the bobbin in wrong, so I fixed it, and it started sewing perfect. A few times I had to help the wheel move because of the belt being loose. I need to either move the motor a little or replace the belt entirely.
Needless to say, the Dressmaker sews like a charm. It easily did all the stitches and was quiet to boot. A very nice machine.~ I am thrilled that it is working so well.


No comments:
Post a Comment